The yummiest recipe in the world!
Just so you know, there are some affiliate links on this page. I may earn a commission if you use the link (at no extra cost to you).
Many people know me as a coffee ‘nerd’. I fought against the label for a good couple years, but I’ve given up now.
Yep, I’m a coffee nerd.

I used to have 5 different coffee makers, but I accidentally broke one (my siphon slipped over and smashed everywhere – not fun). I now have four:
- Moka pot
- French press
- Cezve (Turkish coffee pot)
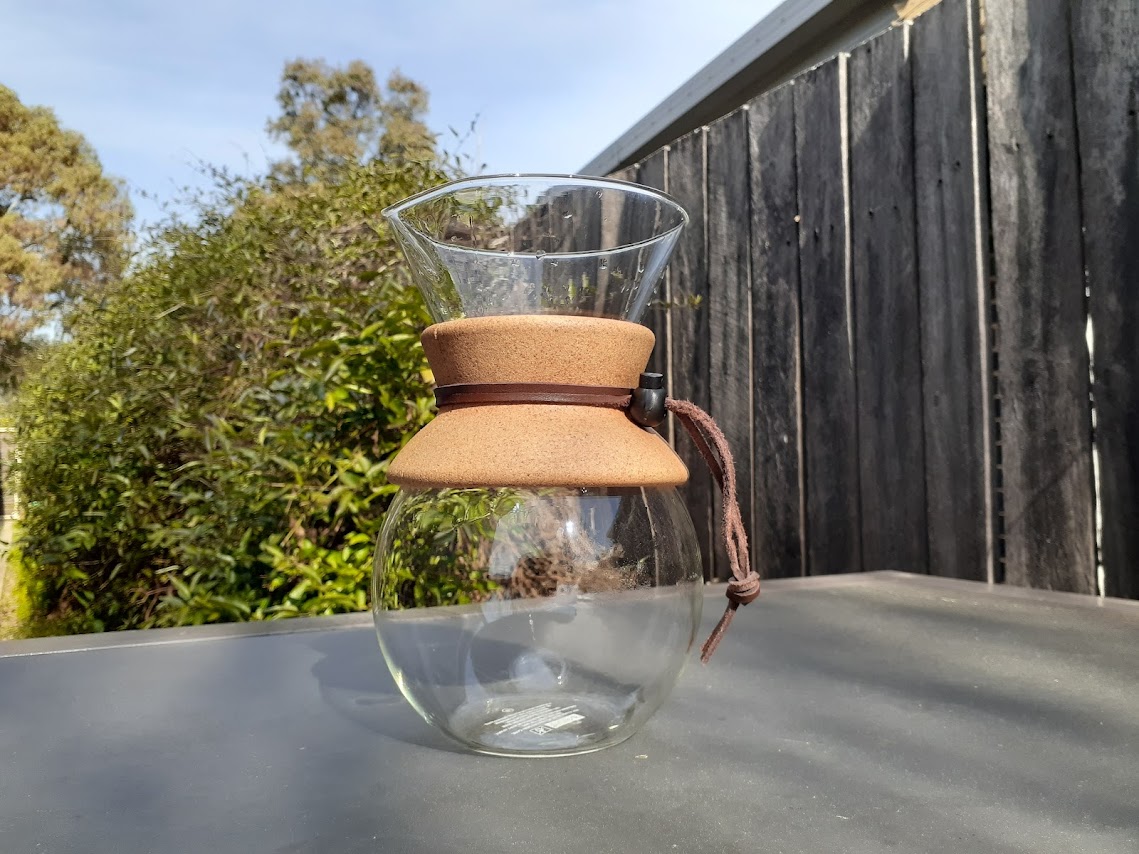
- Chemex
Yes, I don’t have an espresso machine. So rightfully you wouldn’t be able to call me a complete coffee nerd, but I’m a uni student. I need every dollar I can spare.
In this short article I’m going to explain my own coffee making process with my Chemex, to make the best coffee I’ve ever tasted. I drink it black, because I think this way you get the fullest coffee enjoyment experience. Admittedly, milk does change the drinking substantially, but most milks just don’t compliment the coffee you get.
But if you’ve tried my recipe and didn’t like it, then try a splash of cream. Alternatively, the best milk I’ve ever tasted is Tilba Milk, available for purchase across Australia. It’s definitely premium, and you’ll have to invest a bit more for it, but as a coffee drinker, you will appreciate the smoothness and creaminess of it. Plus, if you’re lactose free, my coworker (who also owns a Tilba farm) swears by the quality of the milk resulting in lactose intolerant people being able to drink it, too.
Obligatory equipment in this recipe is the Chemex – you can get one of these from as little as $30 up to hundreds. The one I use is the Bodum Chemex.
If you are to make this coffee the ultimate version, then you’ll need more equipment:
- Gooseneck kettle
- Scale
- Hand grinder

Prep Time
3 minutes
Brew Time
5 minutes
Serves
1
What you’ll need
- 20 grams of whole coffee beans
- 500ml of water
- Gooseneck Kettle
- Chemex and filter
- Mug
- Kitchen scales
- Hand grinder
Steps
1
Fill your kettle with about 500ml of water and set to boil. Grab your beans (I use beans from Wagonga Coffee Culture) and measure out 20 grams. Grind at a medium grind. If you use the grinder I have, I grind at setting 3.5.
2
When the kettle has finished boiling, pour about 100ml of water into the kettle through the filter. Swirl the water around, then discard. Wait for 30 seconds before pouring over the beans.
Place the ground beans into the filter and evenly dispense 40ml of water over the top of the beans. Swirl the maker twice. Leave the beans to bloom for 45 seconds.
3
Evenly pour 150ml of water onto the bloomed beans, moving the kettle in a spiral motion to cover all the area of the beans. Swirl the maker once.
Pour another 100ml in a similar fashion, swirl the maker once more.
Finally pour the remaining 50ml over the beans.
4
After waiting 3 minutes, remove the filter, swirl the maker twice and pour the coffee into a mug. Enjoy!
That’s my short recipe. Go on, give it a try, criticise it, criticise me, I’ve heard it all. This remains my favourite cup of joe ever. Everything except for boiling water is done by hand. Slow, precise, mindful – this isn’t the easiest coffee recipe you’ll ever make. But it’s worth every second, because every sip is bliss. Let me know if you’ve tried it, and how you went!

Leave a Reply